
Start here — the whole add-on in one panel
This is the full LED VOLUME panel. Click any block — on the screenshot or in the list — to jump to its chapter.
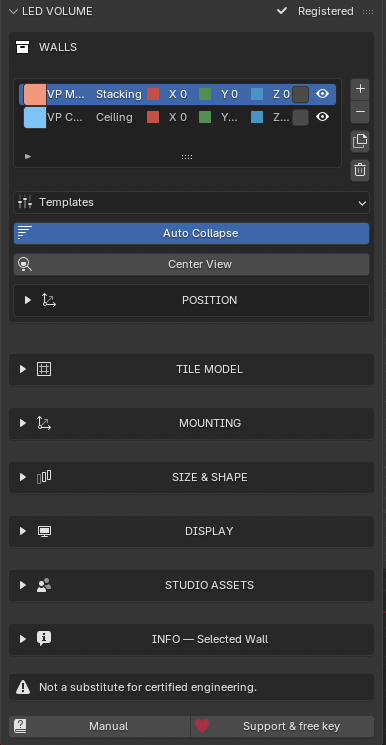
Walls — the wall list and global tools
★Templates — click this row for the three stage presets
03Position — move walls precisely
04Tile Model — physical tile + pixel pitch
05Mounting — six ways the wall stands
06Size & Shape — tiles, metres, curved wings
07Display — what the wall shows
08Studio Assets — floor, human, studio, light box
09Info — dimensions and pixel canvas
✓Free key — Manual & Support buttons, registration
One line per wall
The top of the LED VOLUME panel: the wall list and the global wall tools. Tap a highlight on the screenshot — or an entry in the list — to see what each control does.
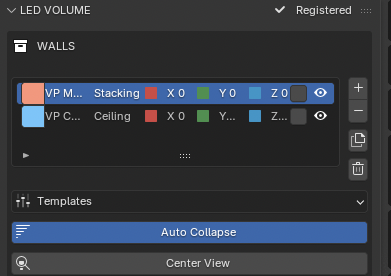
Registration status — ✓ Registered, or ⓘ Unregistered · 1 wall
Colour chip — identity of the wall in the viewport
Mounting mode
Live X · Y · Z position (m)
Group tick — ticked walls move together
Show / hide wall
Add · Remove · Duplicate · Delete all walls
Templates — click this row for the three ready-made stage presets below (key required)
Auto Collapse — on by default: opening a block folds the others, accordion-style. Clicking a block's title toggles it like the arrow
Center View — frames the active wall in the viewport
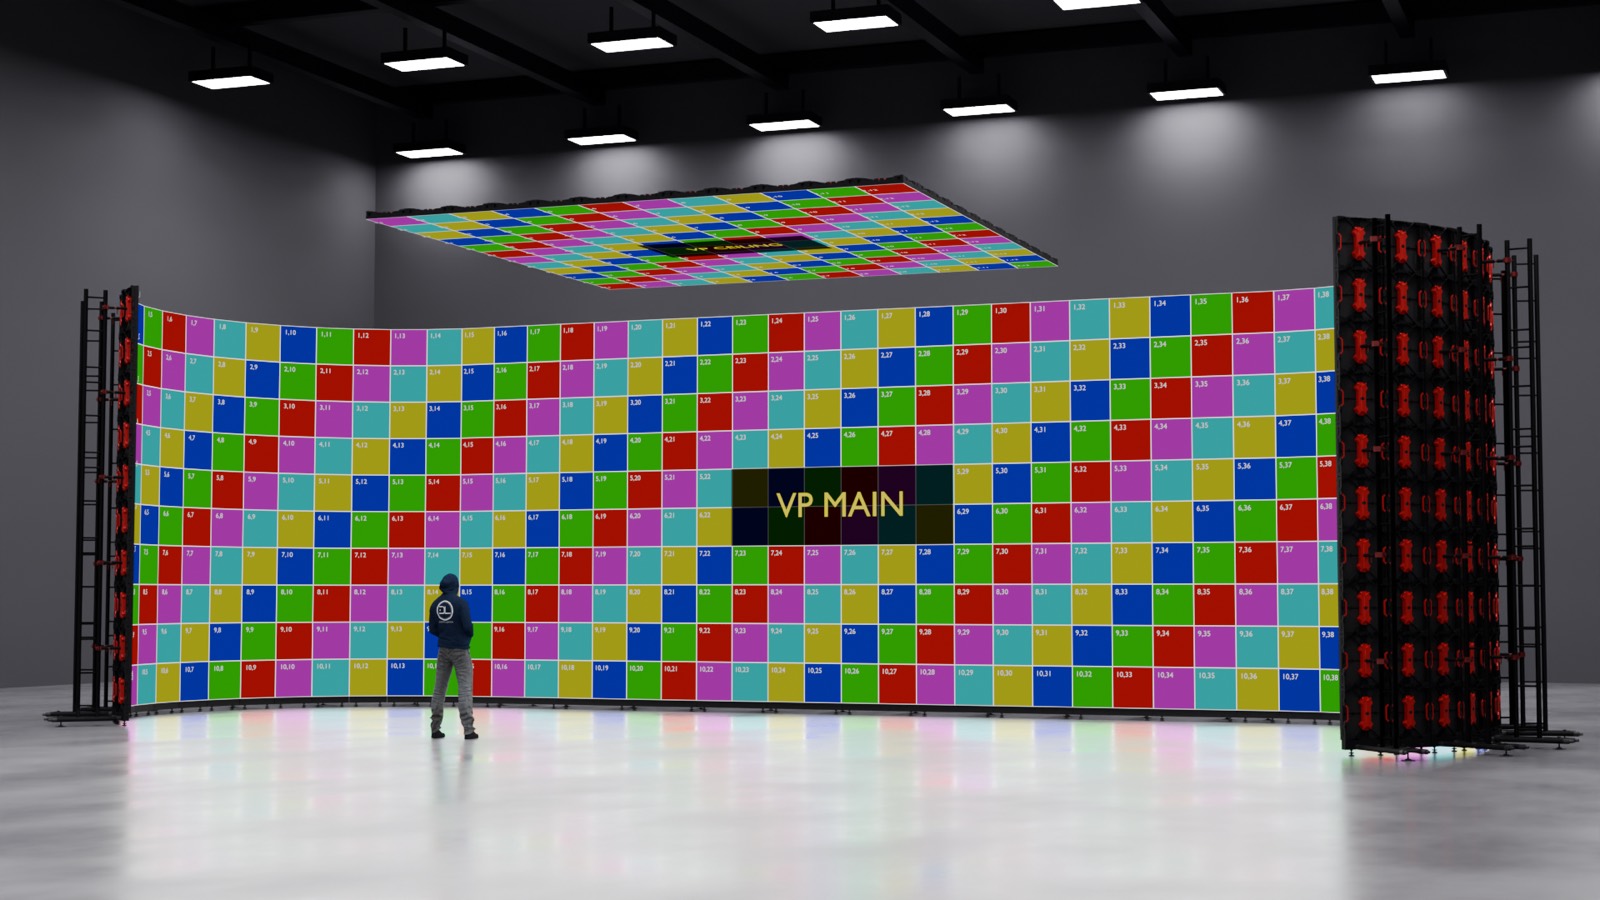
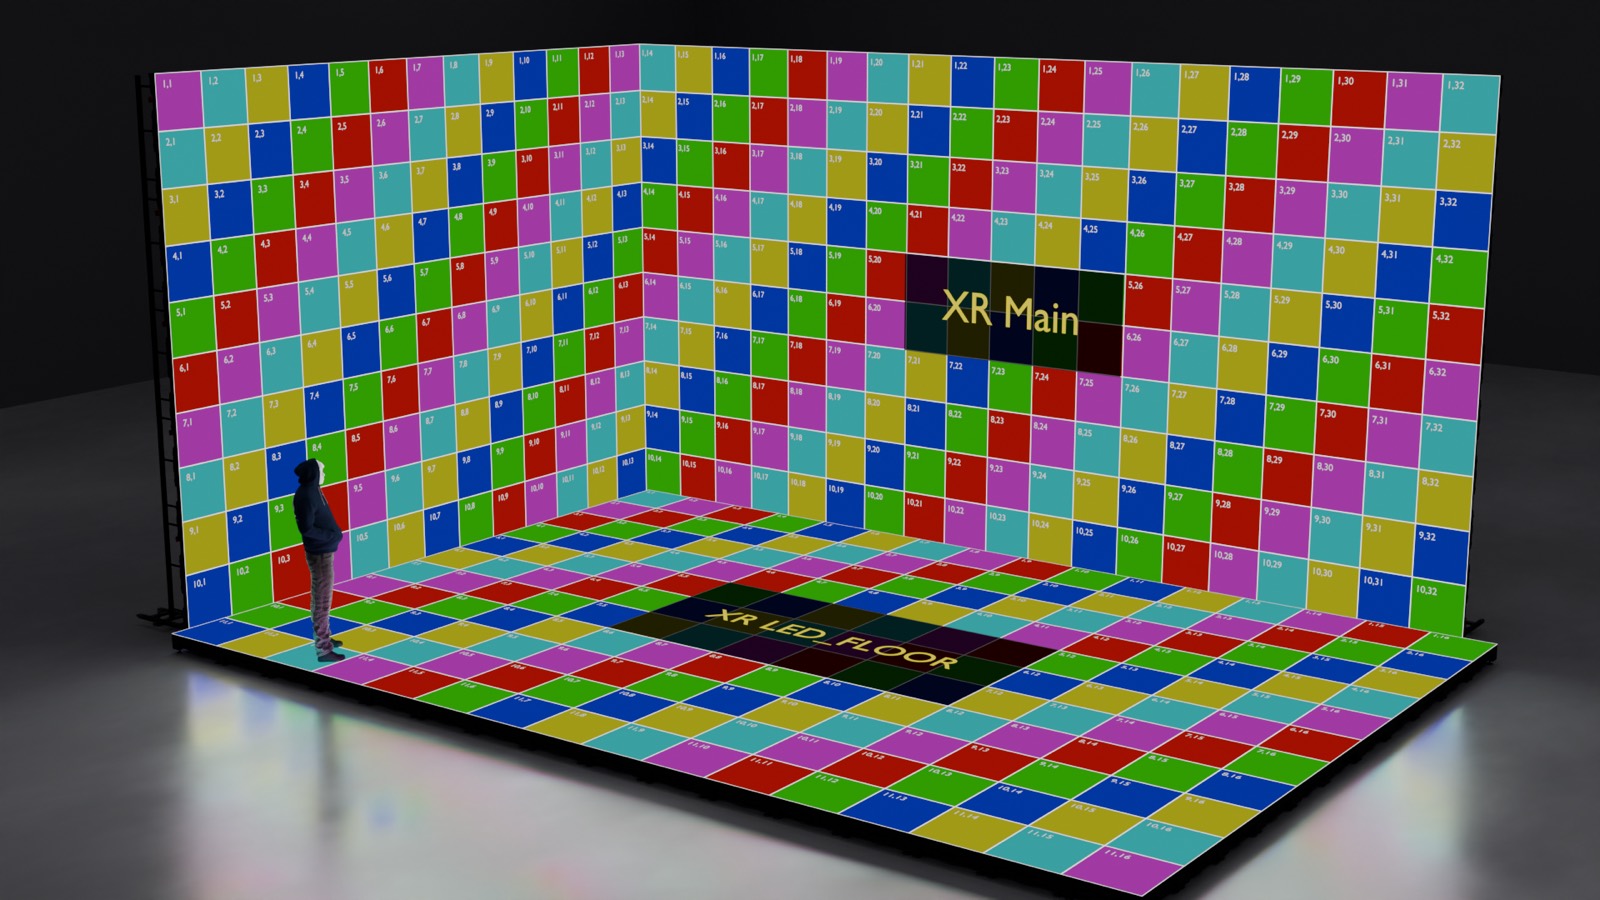
Templates — one click, a complete stage
The Templates row (highlight 8 above) replaces the current walls with a complete, hand-tuned stage (registered version).
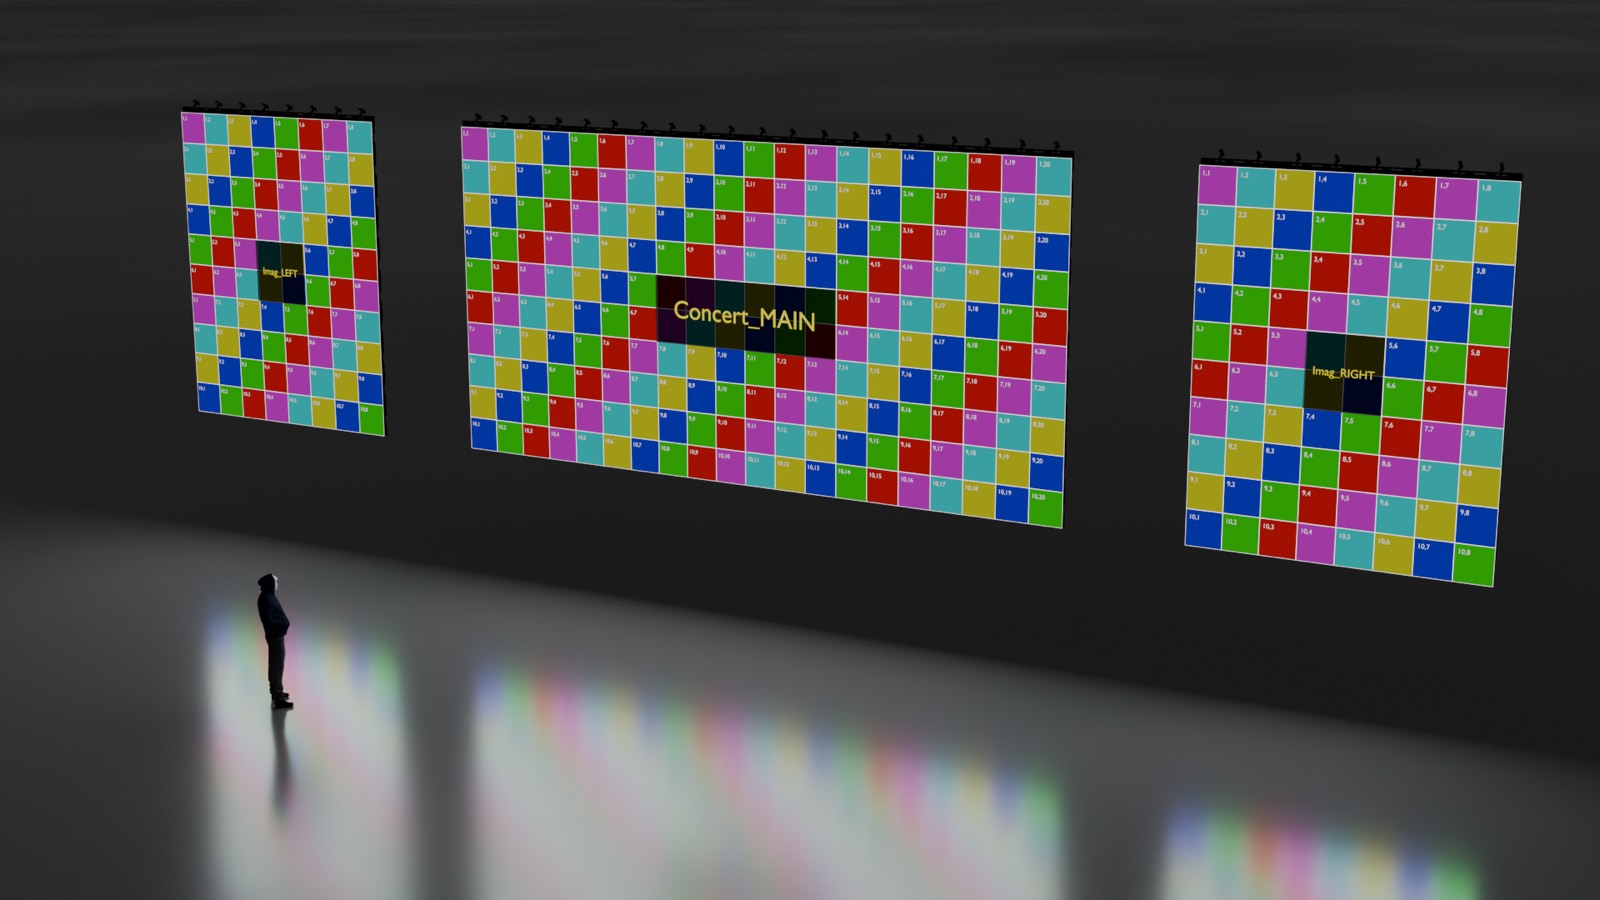
Move walls precisely from the panel
The fields drive every ticked wall together, keeping their spacing.
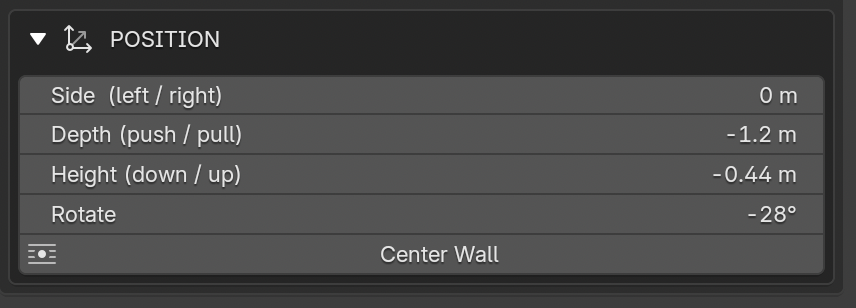
Side (left / right) — moves the wall on its X axis
Depth (push / pull) — moves the wall on its Y axis
Height (down / up) — Freestanding, Rigged and Ceiling walls move freely; Ground Stacked and Scaffolding stay on the ground / LED floor
Rotate — rotation around vertical
Center Wall — brings the wall (or all ticked walls) back to X 0 / Y 0
The physical tile behind the wall
Pick the tile the wall is built from — the pixel pitch follows.
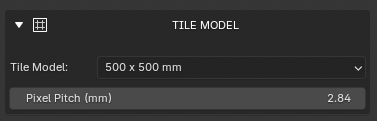
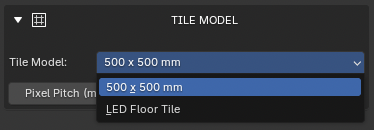
Tile Model — the physical tile (e.g. 500 × 500 mm, LED Floor Tile)
Pixel Pitch (mm) — drives the pixel canvas in INFO
How the wall stands
How the wall stands — or lies: six modes, from freestanding to a walkable LED floor.
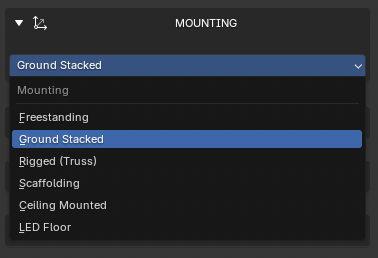
Current mounting mode of the selected wall
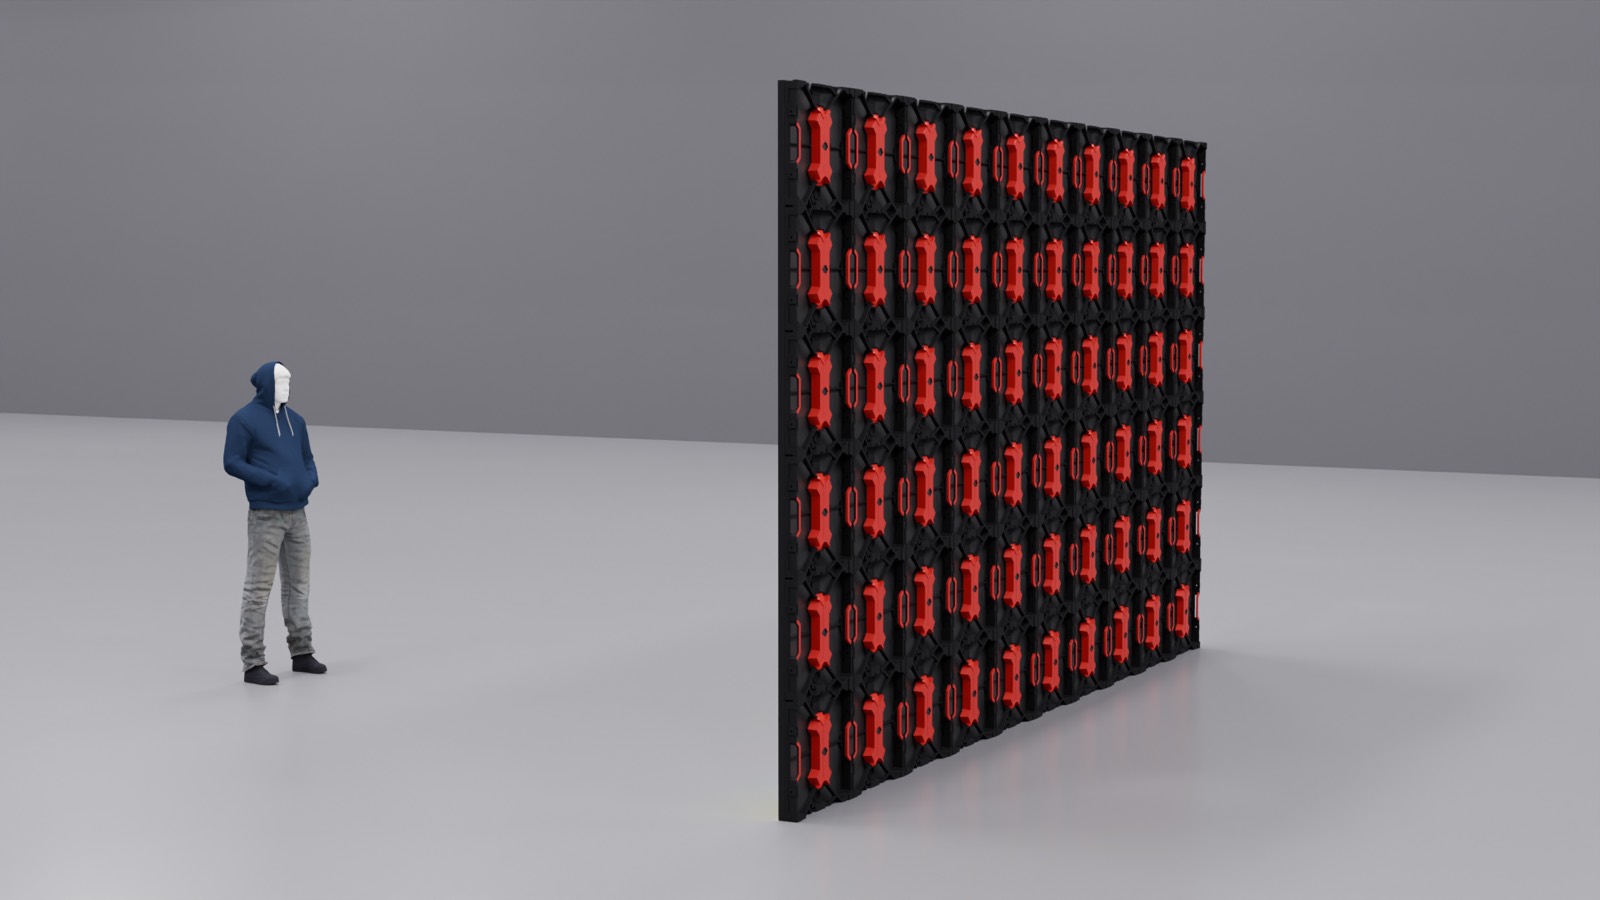
Freestanding — no accessories
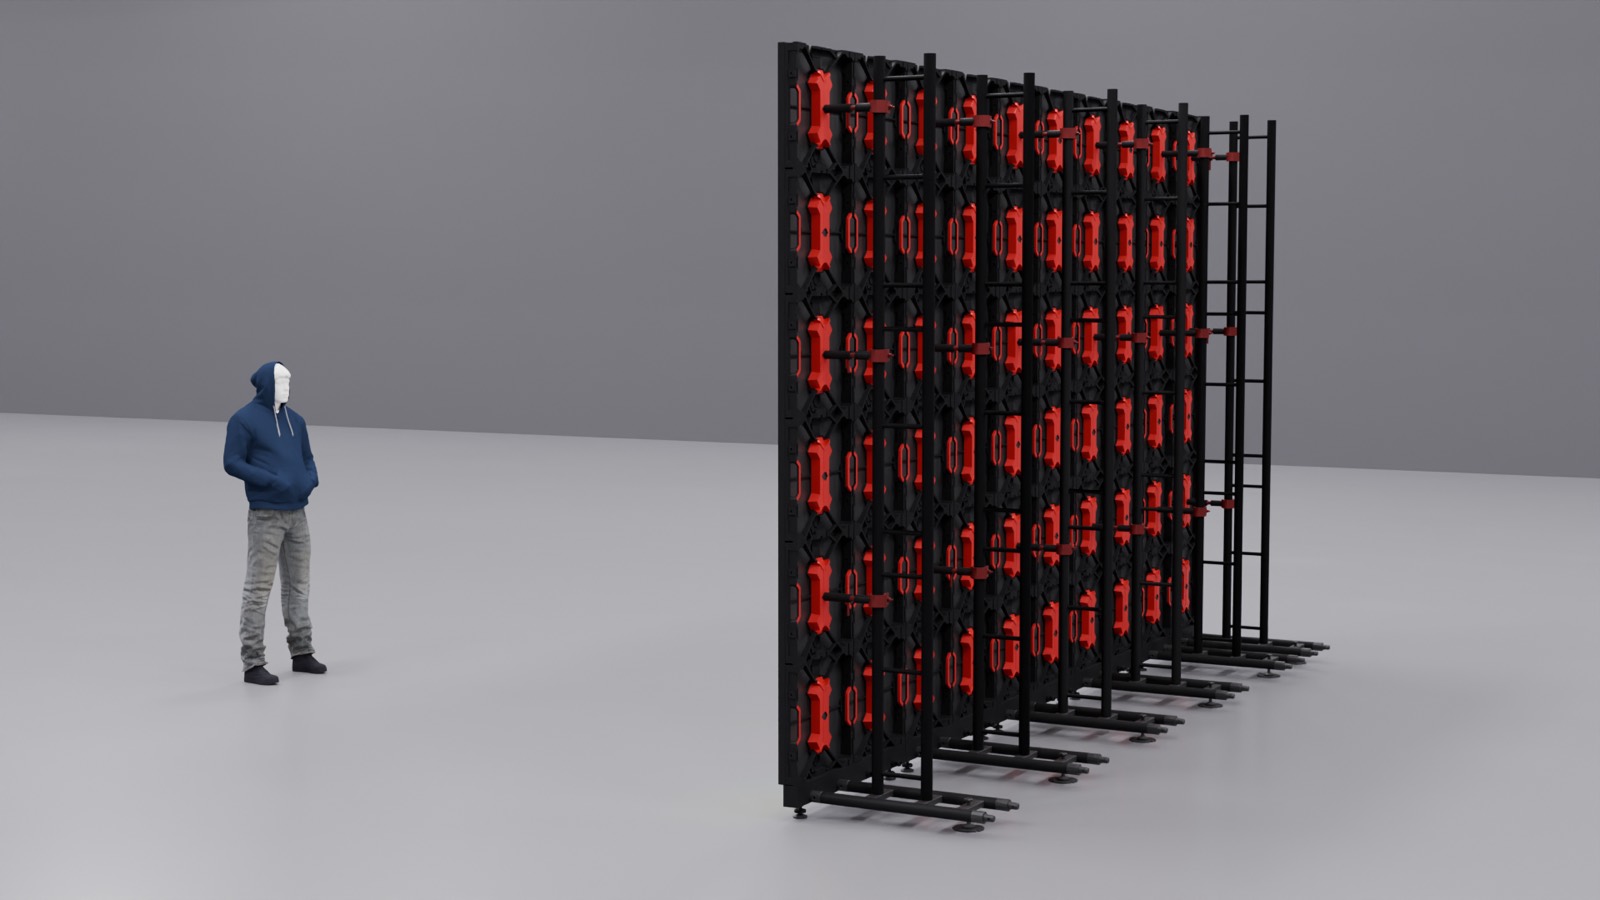
Ground Stacked — stacking hardware
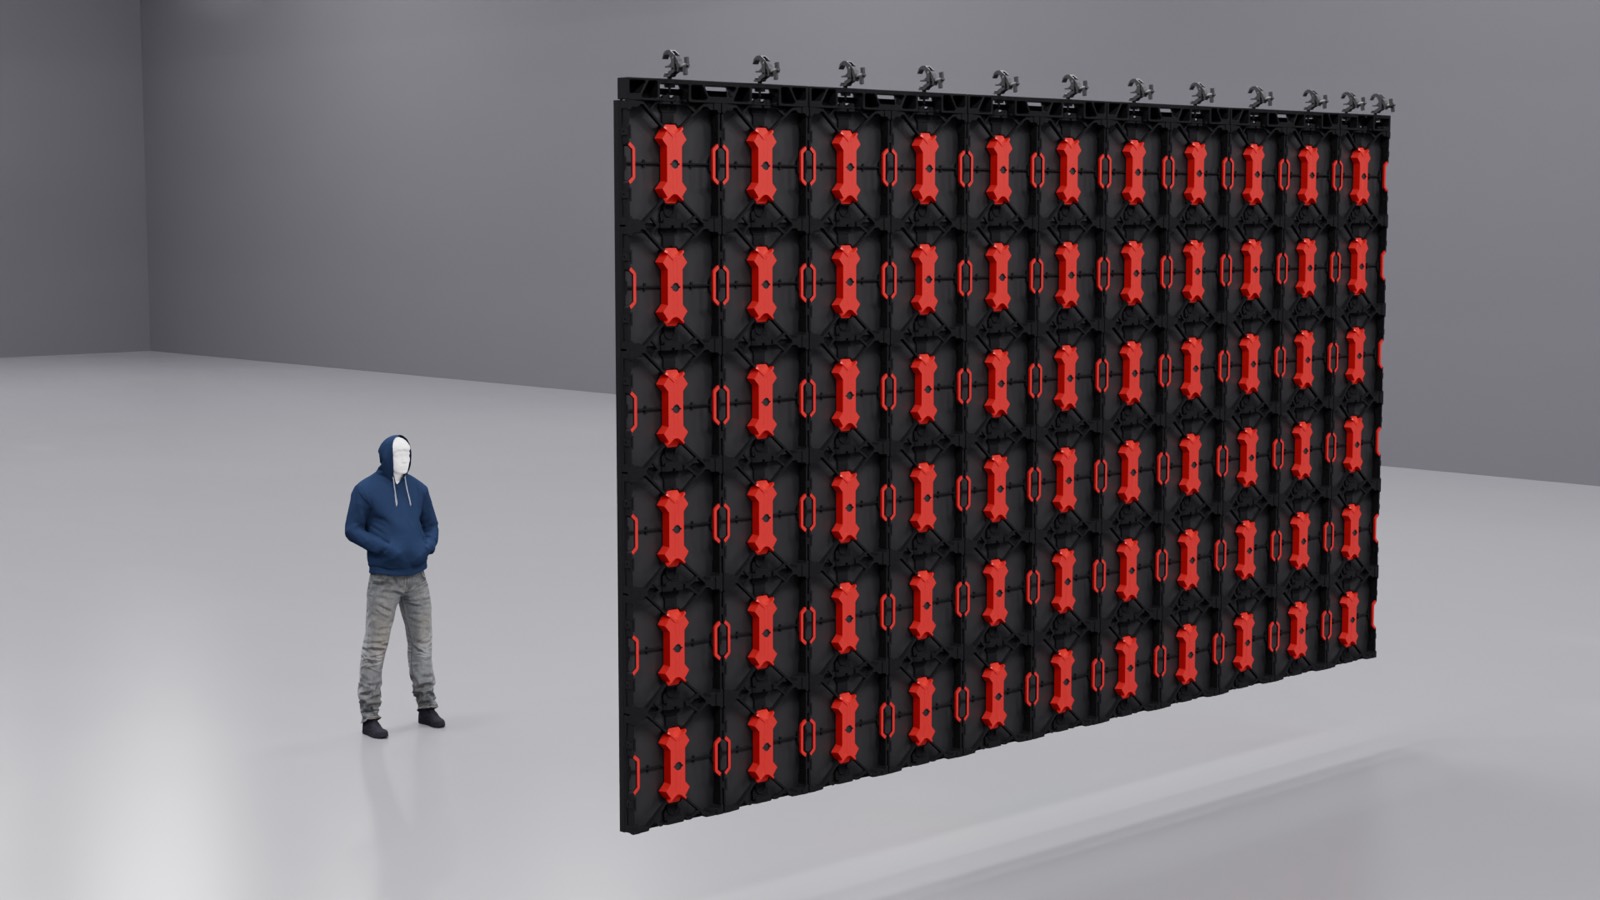
Rigged (Truss) — hangers + truss, height from floor
Scaffolding — base plates, rear bridge, towers
Ceiling Mounted — hangs the wall face-down at a set height above the floor
LED Floor — turns the wall into a walkable LED floor, Tile Model follows
The modes in pictures — hover a mode above to spot it
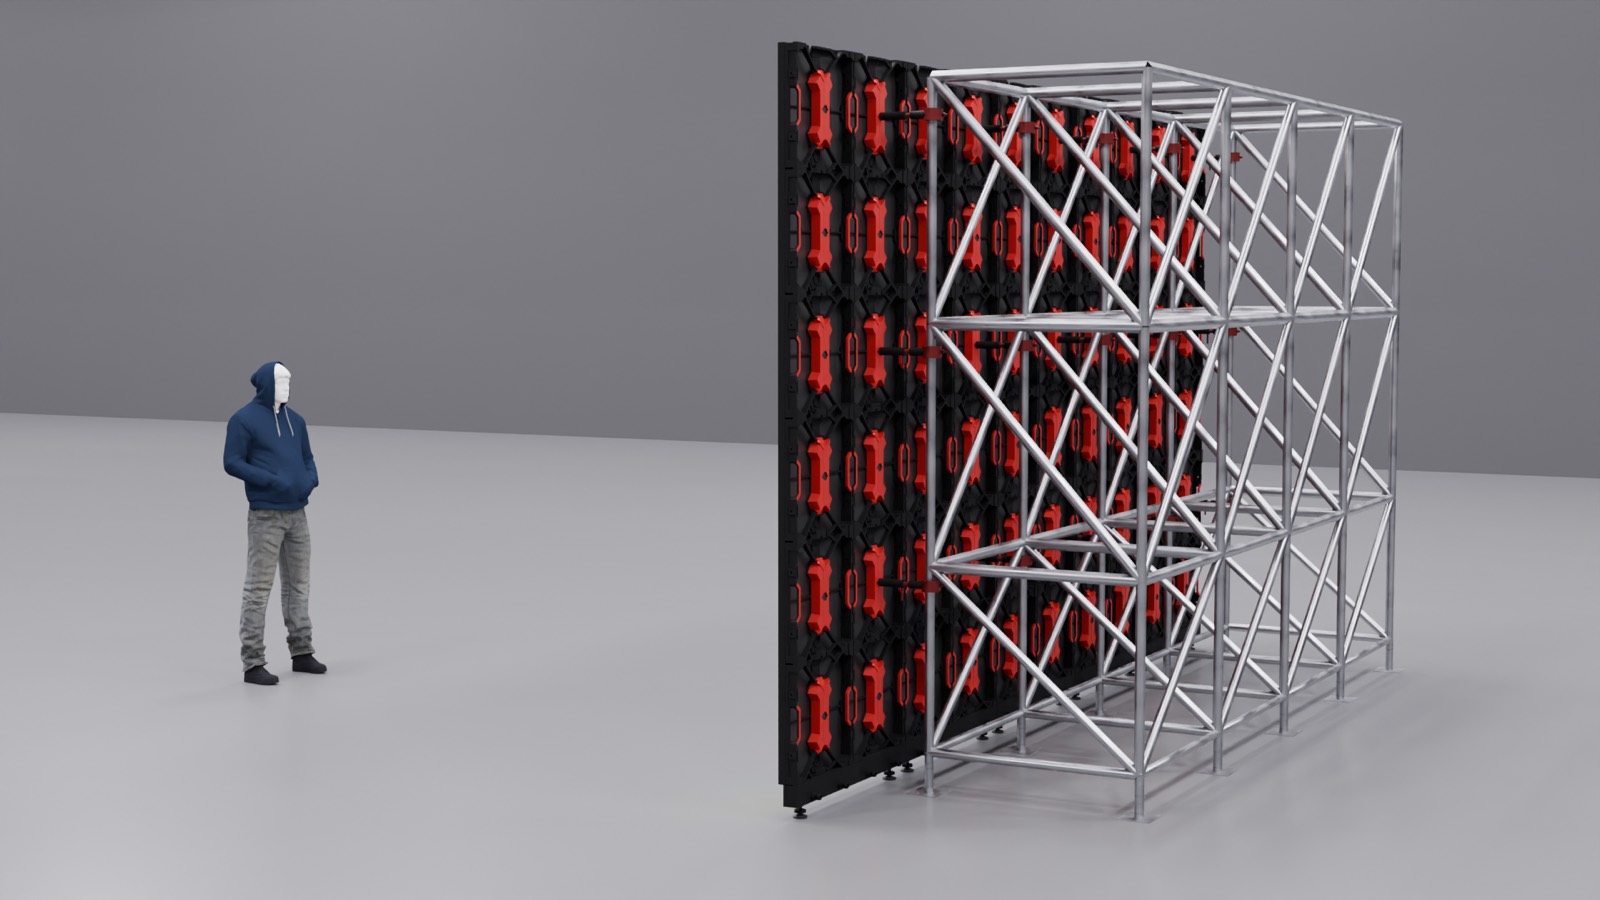
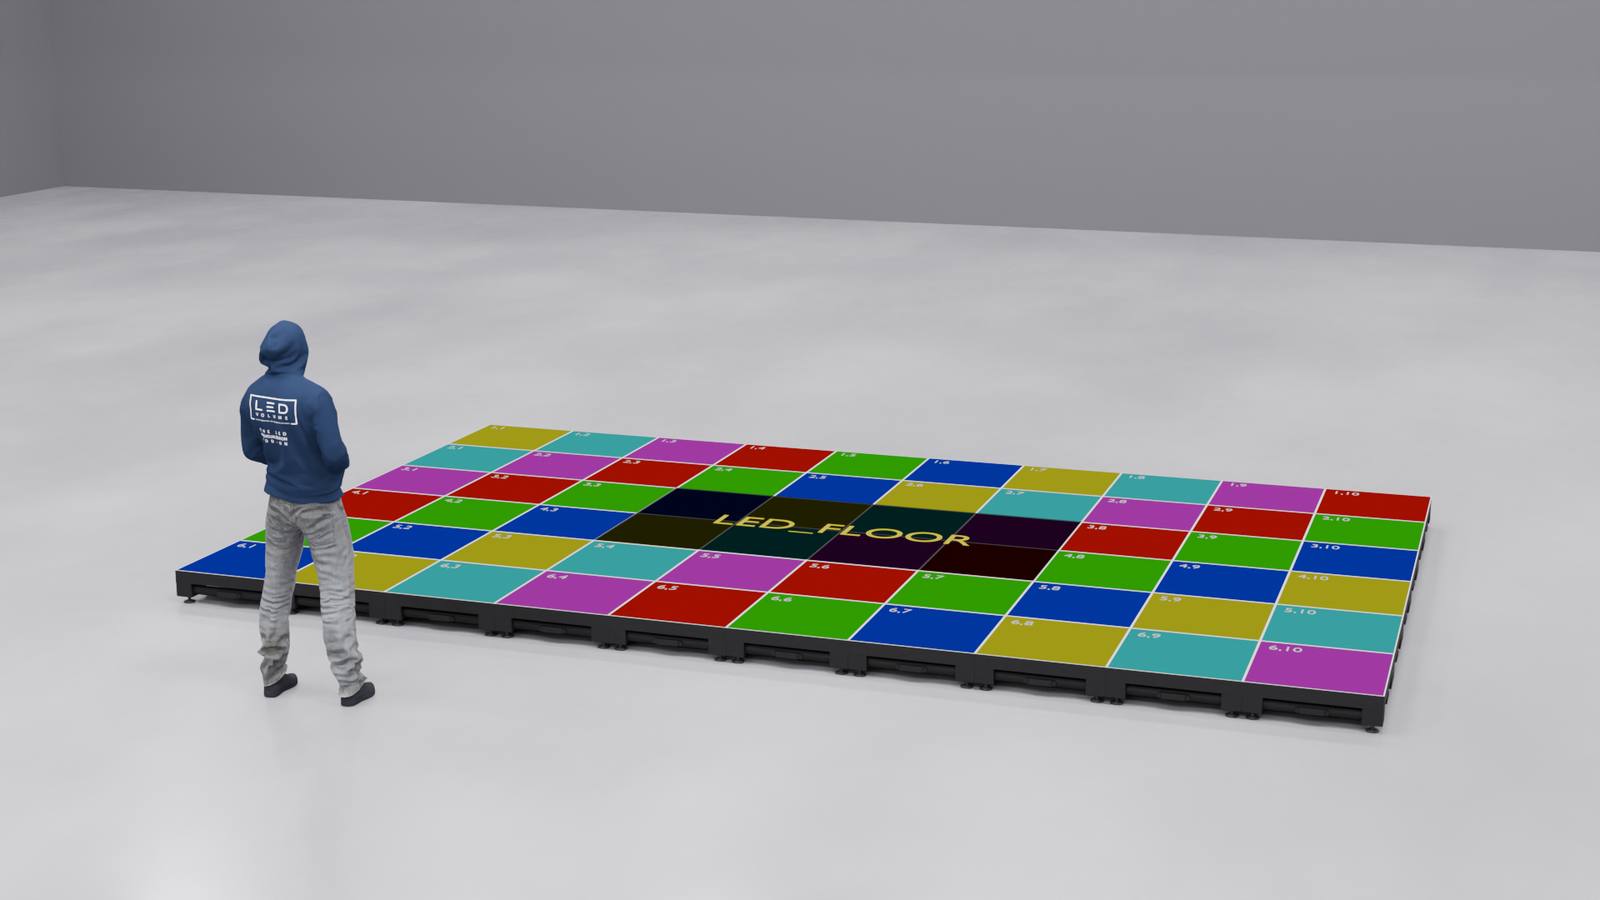
Tiles, metres and curved wings
Wall dimensions in tiles or metres, plus curved extensions on both sides.
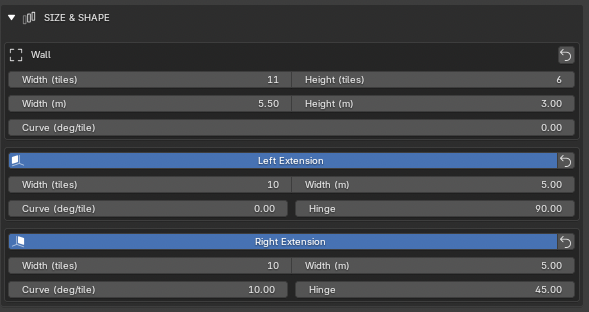
Width / height — tiles and metres stay in sync
Curve — angle between adjacent tiles (deg/tile)
Left / Right Extension — click to enable a wing
Hinge — angle of the wing at the joint with the center wall
Reset the whole block
Center wall + hinged wings
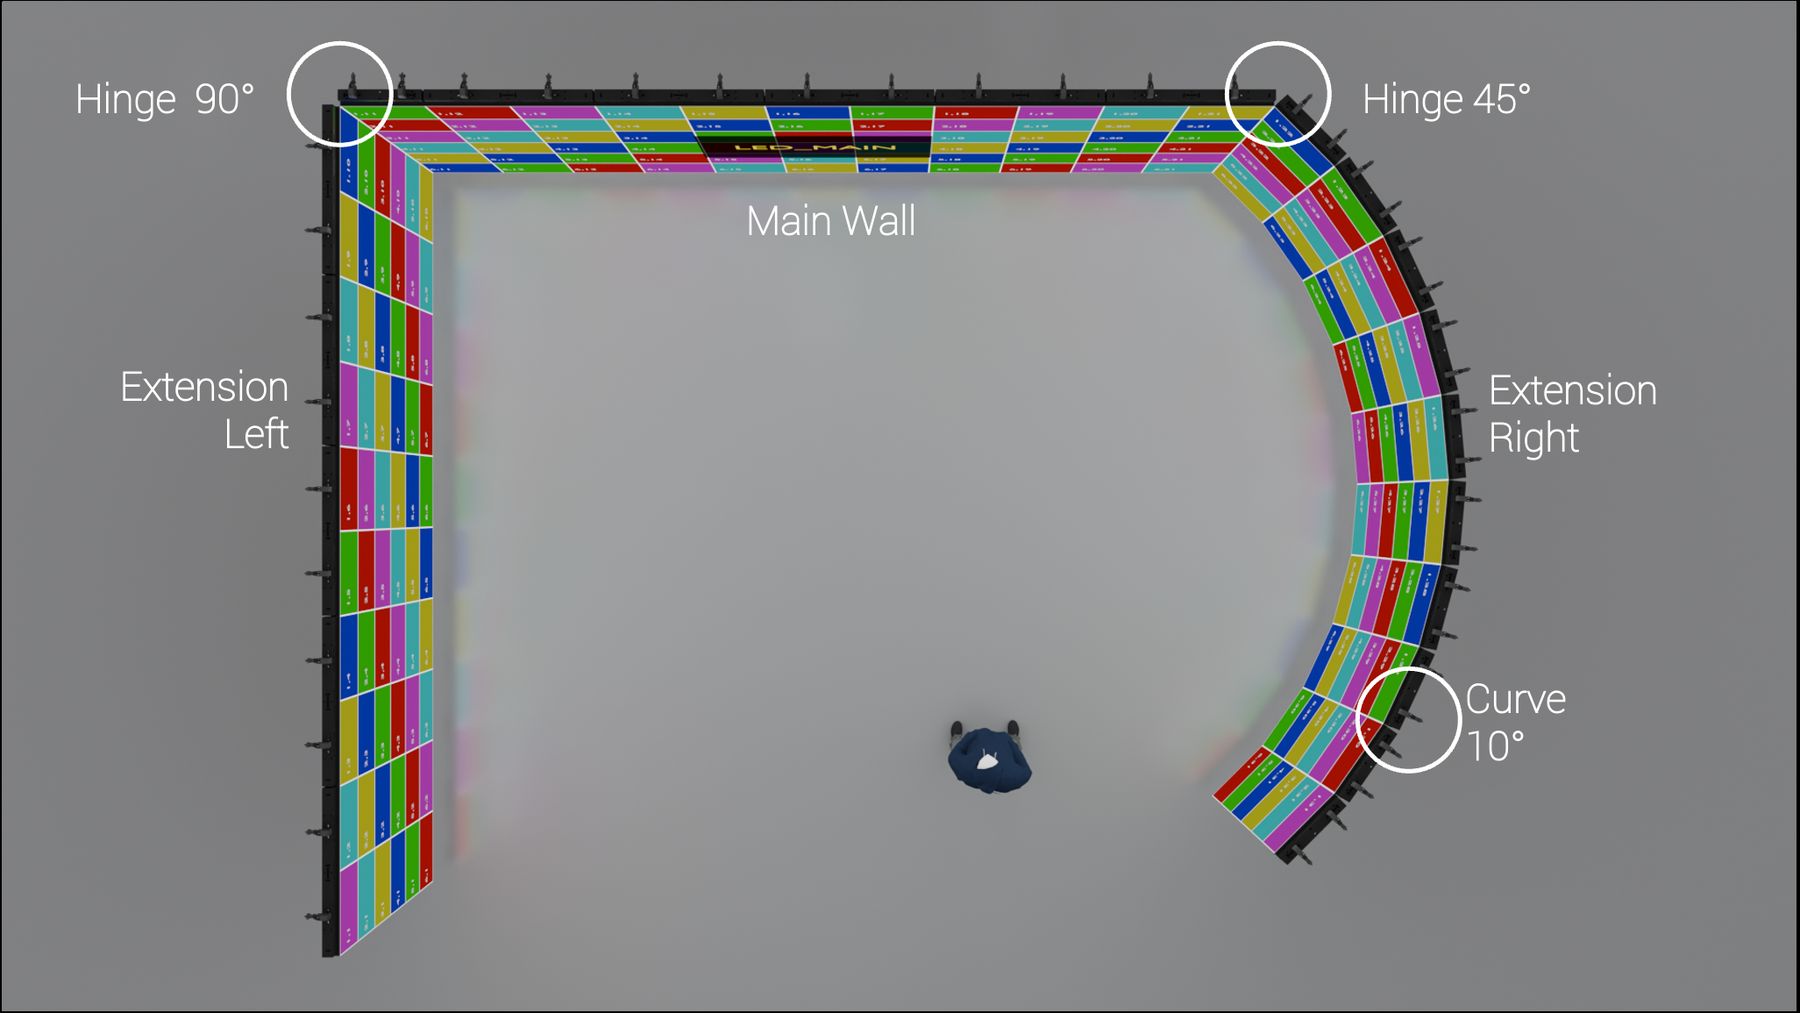
What the wall shows
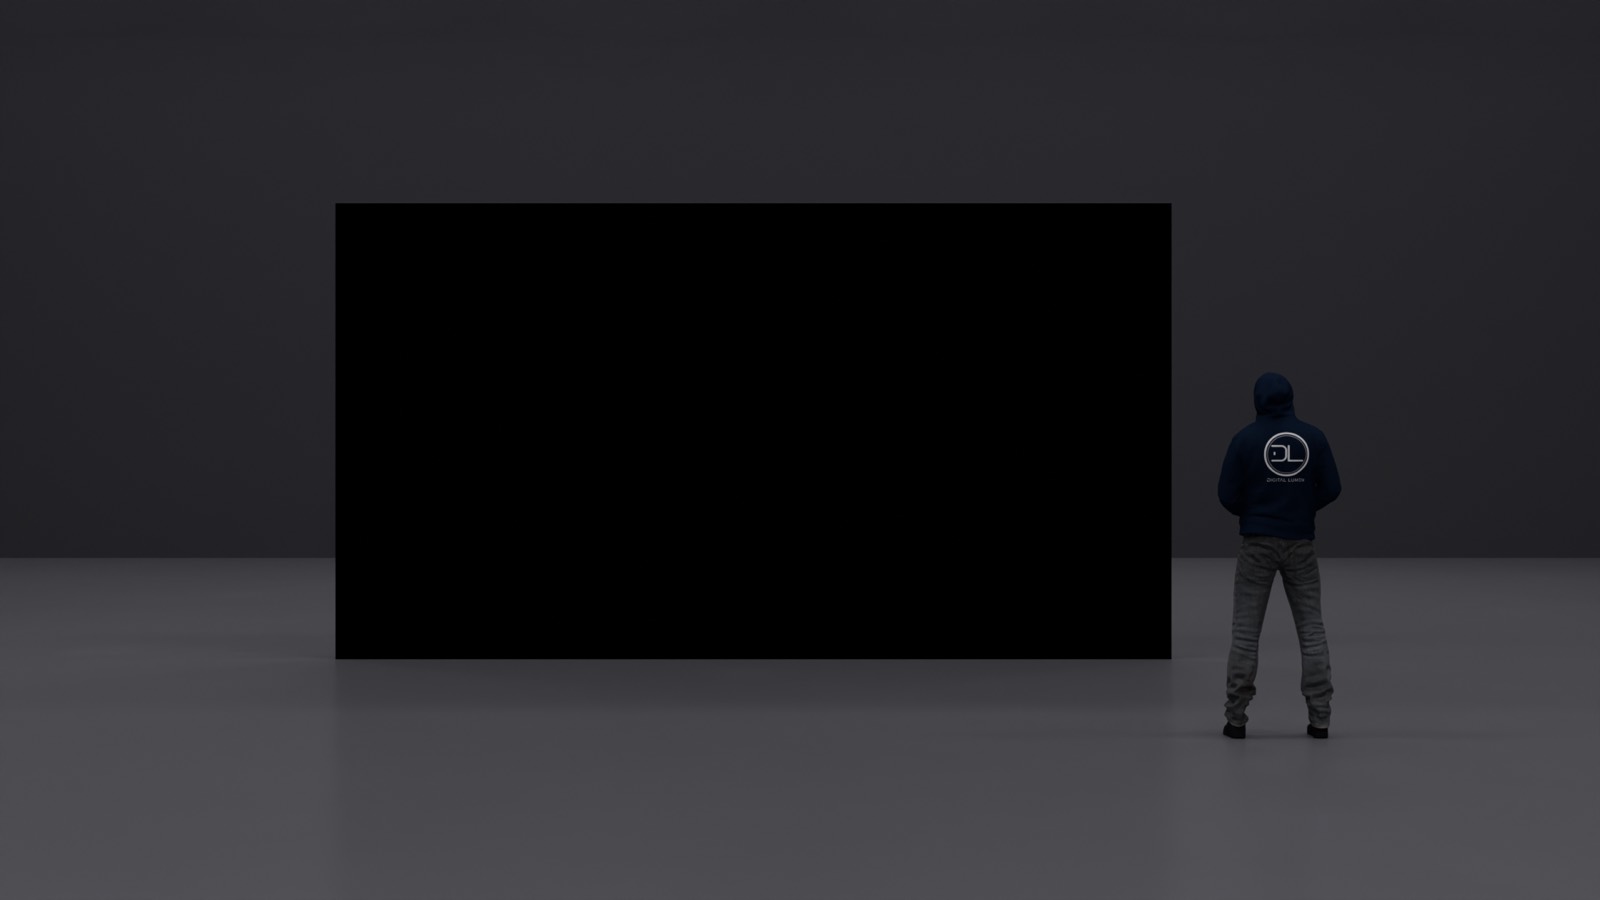
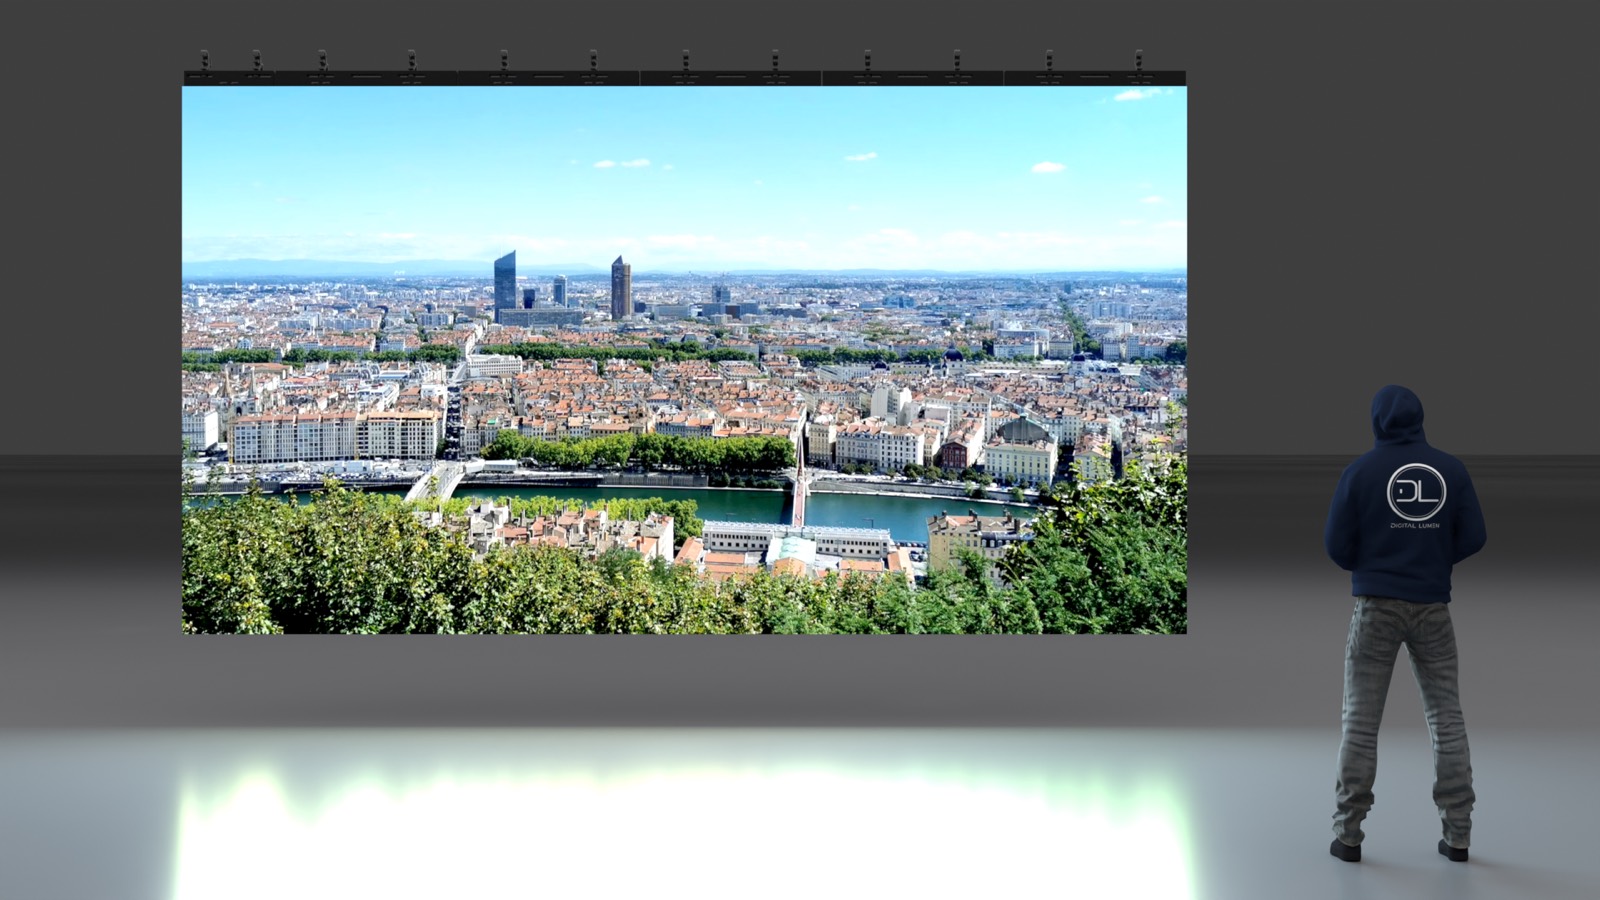
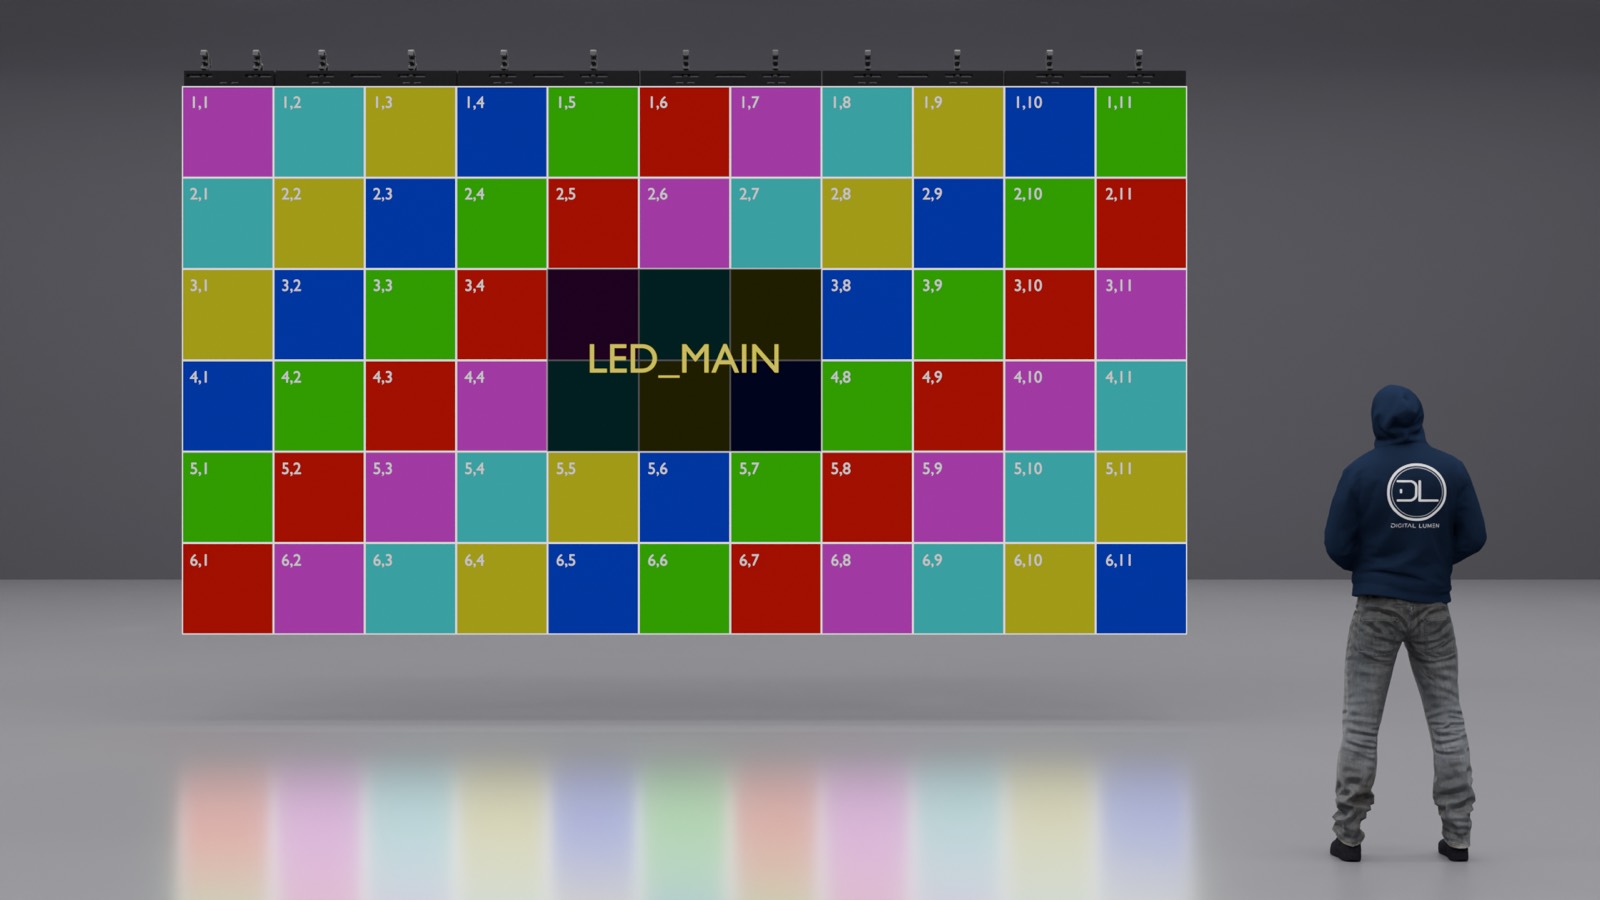
Four modes: Off, Load a picture, Grid, Info — plus brightness, bloom and true screen colours.
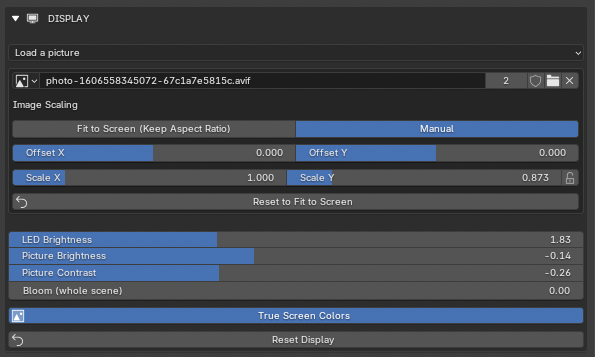
Display mode (Off · Load a picture · Grid · Info)
Loaded picture (PNG / JPG…)
Fit to Screen — fills the wall, no distortion
Manual — free scale + offset
LED Brightness + picture brightness / contrast
Bloom — whole-scene glow
True Screen Colors — exact 1:1 file colours (Standard view transform)
The same wall in every mode
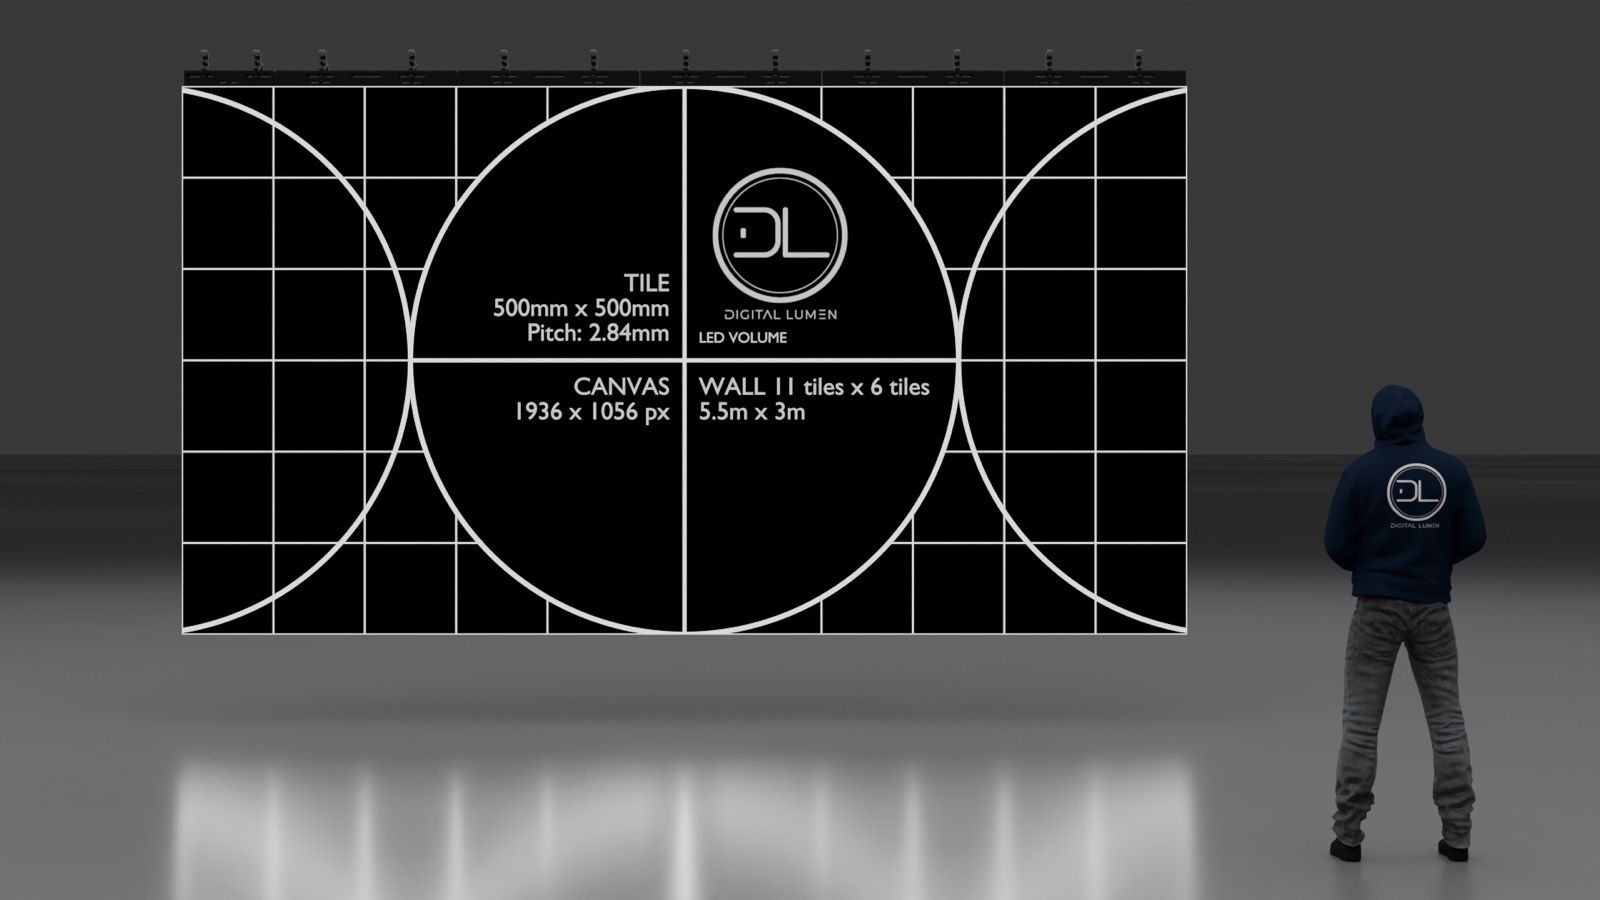
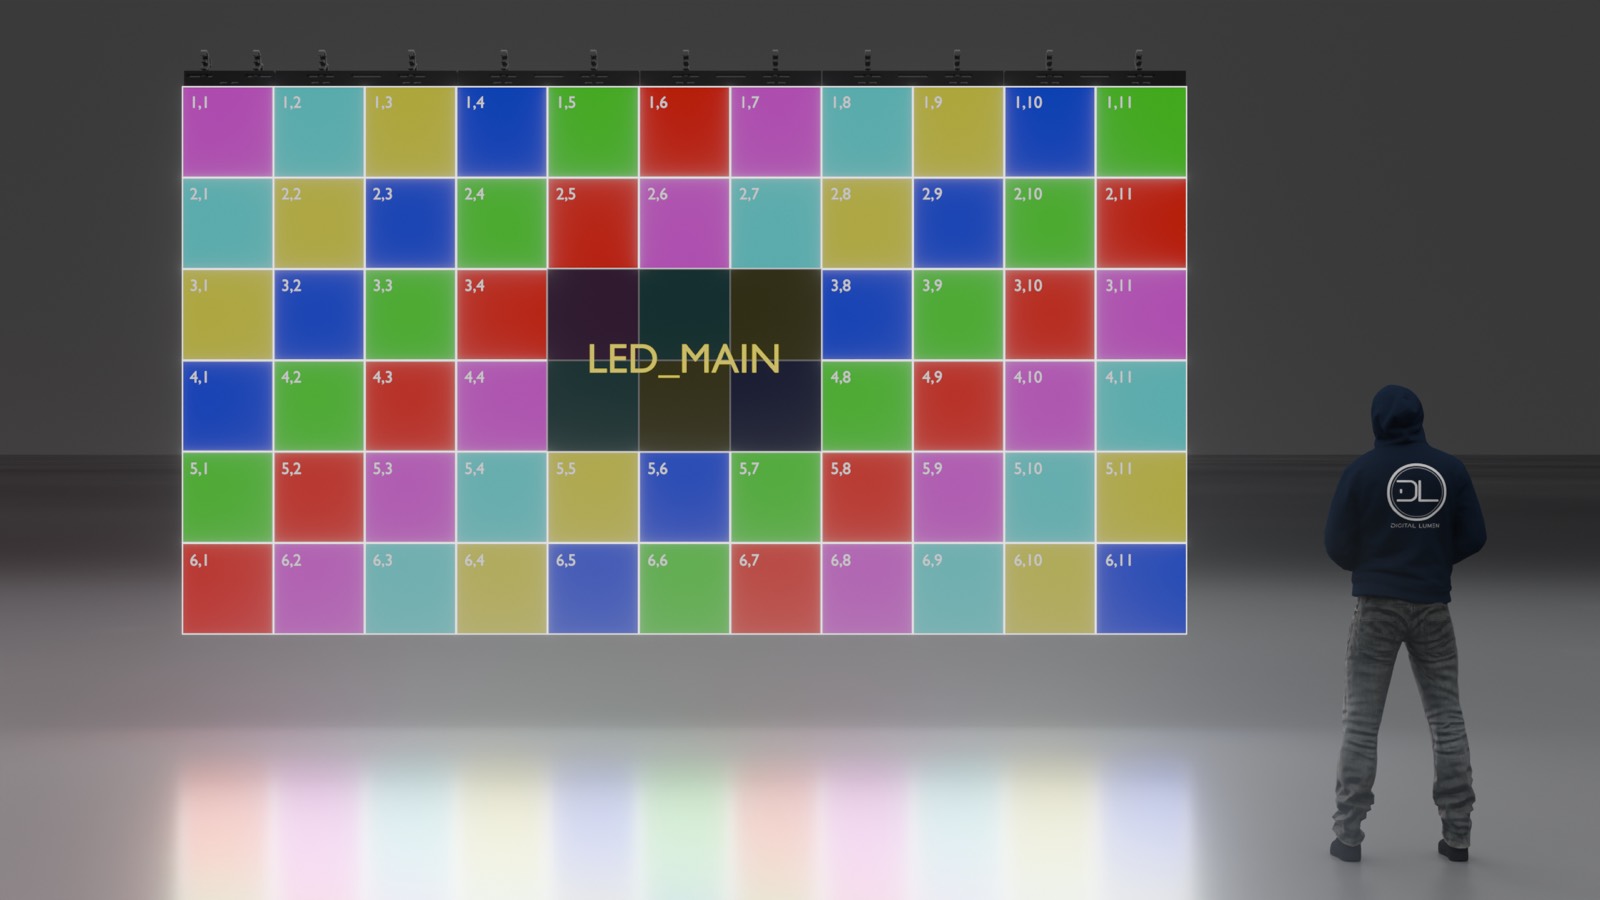
The environment around your walls
Top to bottom: Floor, Human, Studio, Light Box.
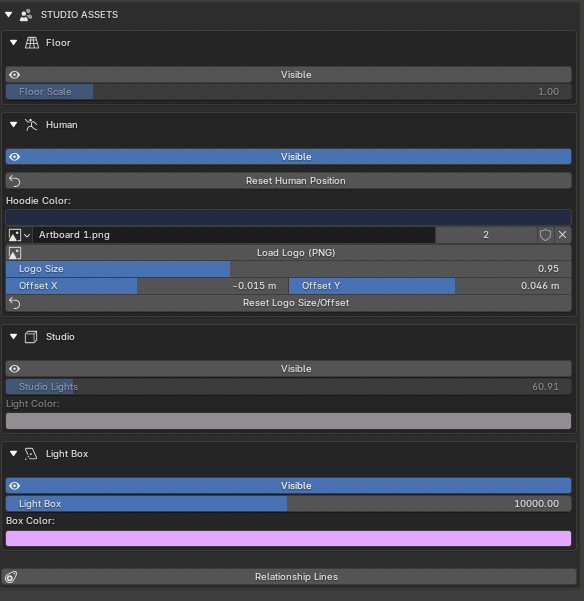
Floor — backdrop plane + Floor Scale
Human — 1.75 m reference figure. Hoodie colour + printed back logo (your PNG, auto-sized)
Studio — sound-stage set piece. Studio Lights slider drives 16 real area lights + fixtures; Light Color tints them
Light Box — white softbox room with 2 big area lights. One slider (watts) and one colour drive both
Relationship Lines — Blender's dashed parent lines on/off
Studio, Light Box and scale reference
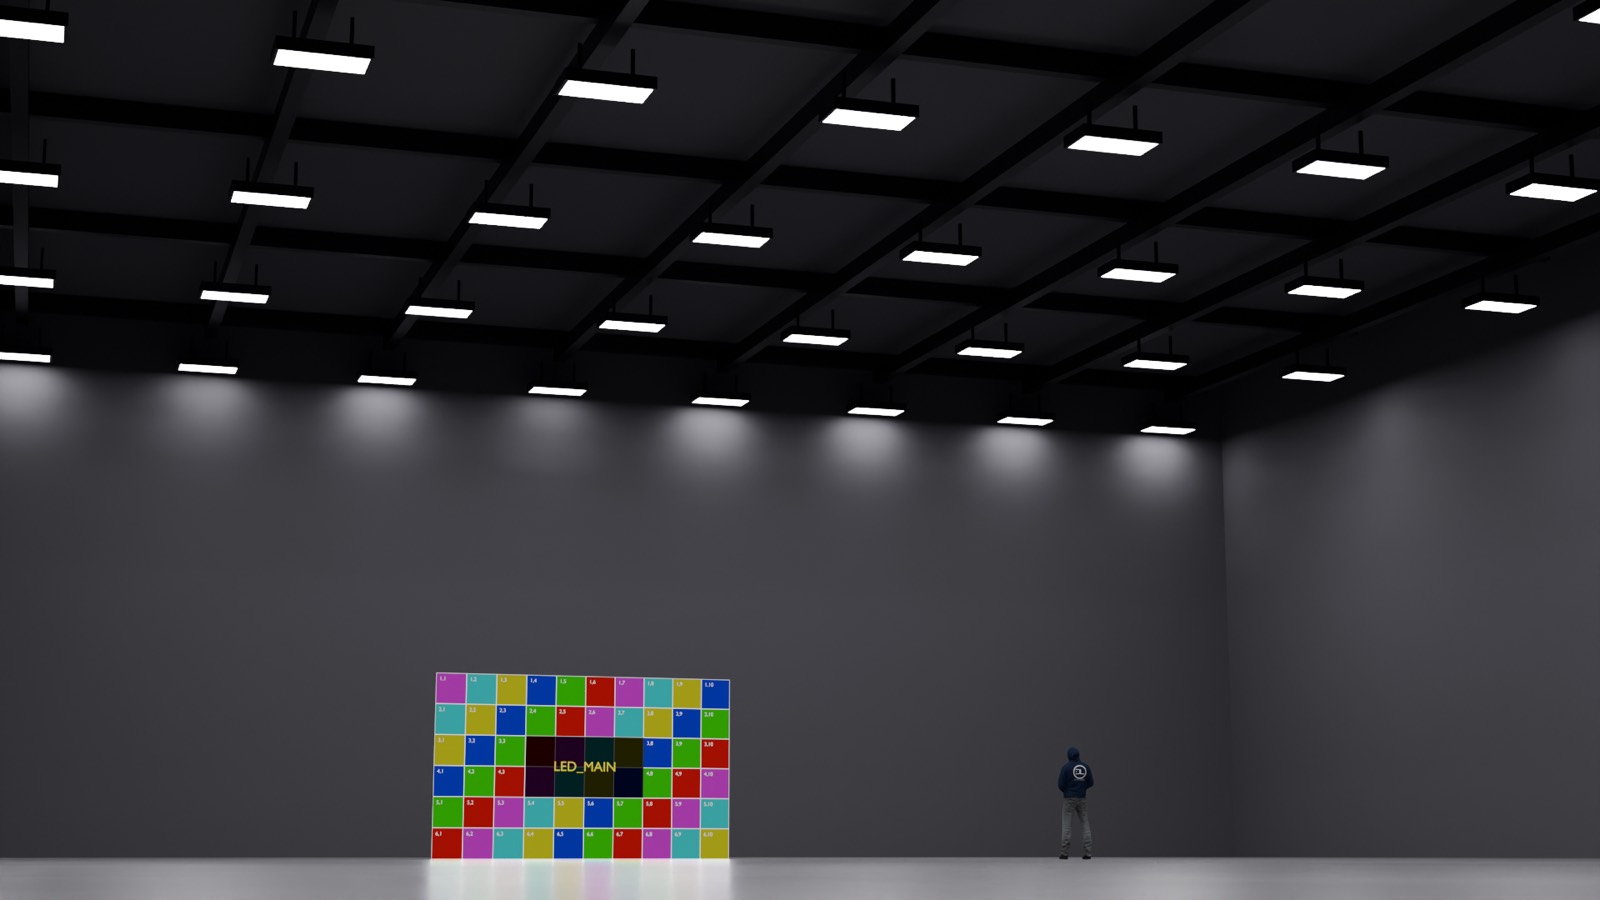
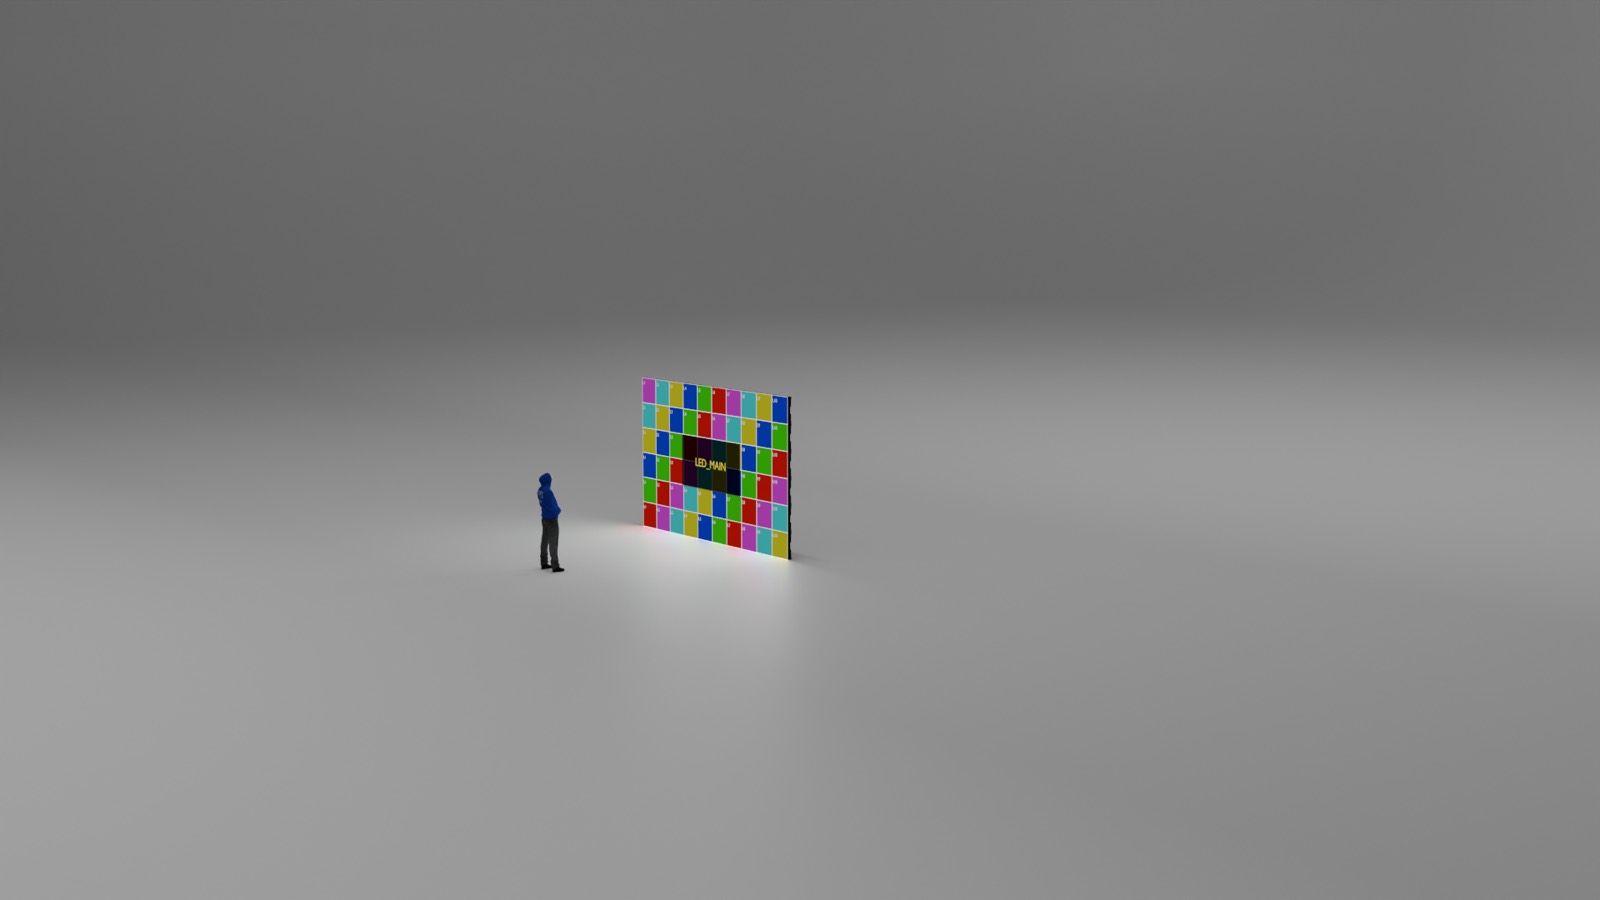
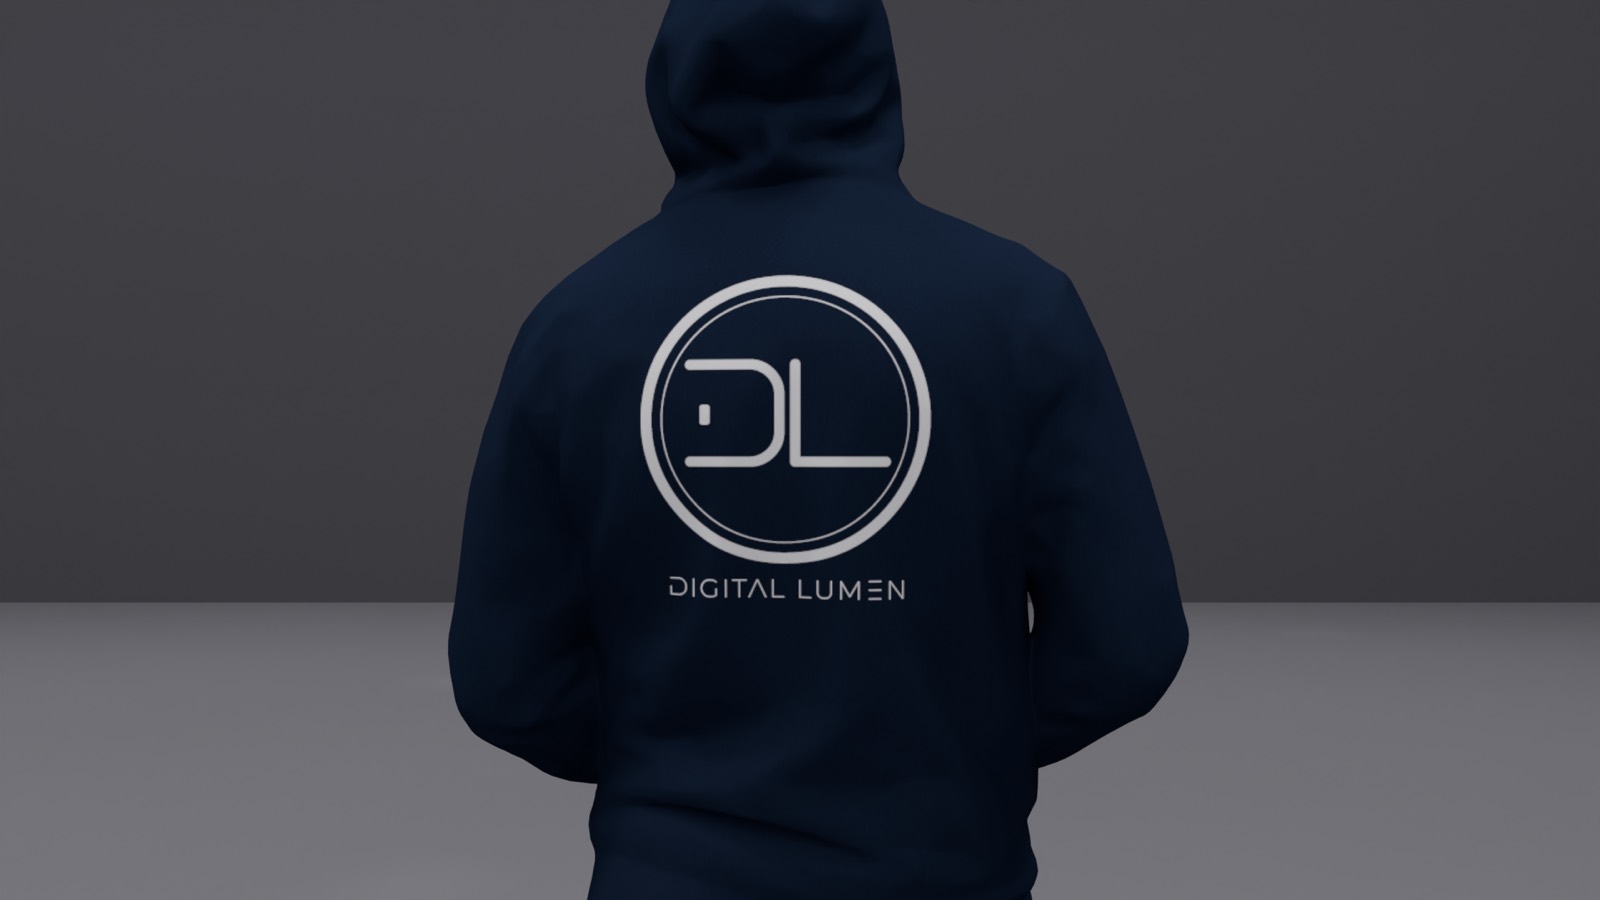
Calculated dimensions, ready for the media server
Bottom of the panel: physical size, tile counts and pixel canvas — and how to unlock the full version.
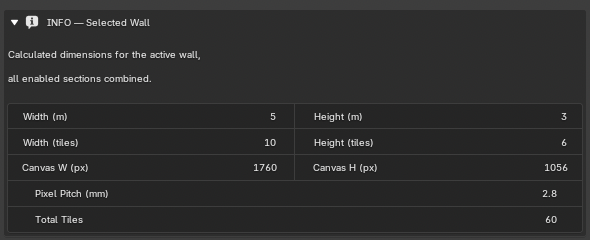
Physical size (m) and tile counts — all enabled sections combined
Canvas in pixels + pixel pitch — ready for the media server
Pixel Pitch (mm) — follows the Tile Model block
Total tile count — heavy scenes warn above 1 500 tiles
Bottom of the panel
Registration — free
- Get your free key at ledvolume.gumroad.com
- Blender >
Edit > Preferences > Add-ons > LED VOLUME— paste the key - Save Preferences. You now have 10 walls + the three Templates
Enjoying LED VOLUME? Support its development on the same page.
Send a message
A question about the add-on, a feature request, or something not covered by the manual — write below.
Messages go straight to the LED VOLUME inbox. For licence or download issues, include the email you used on Gumroad.